Log in to SharePoint Server as a SharePoint Farm Administrator (must have rights to modify content in the SharePoint Central Administration site)
Open the Central Administration website in a browser window
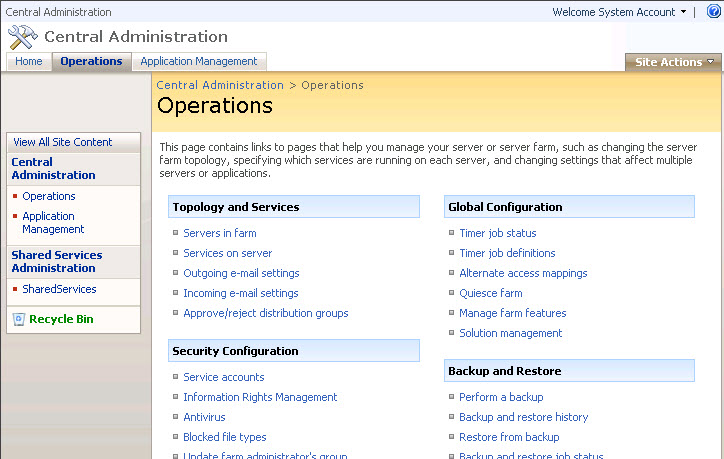
Open the Operations tab, and click on Solution management (under Global Configuration)
You will be presented with a list of installed solutions in the SharePoint Farm. Ensure that oneplacemailsharepointsolution.wsp is NOT in this list (if it is then you have already deployed the OnePlaceMailSolution and you can skip to step 9)
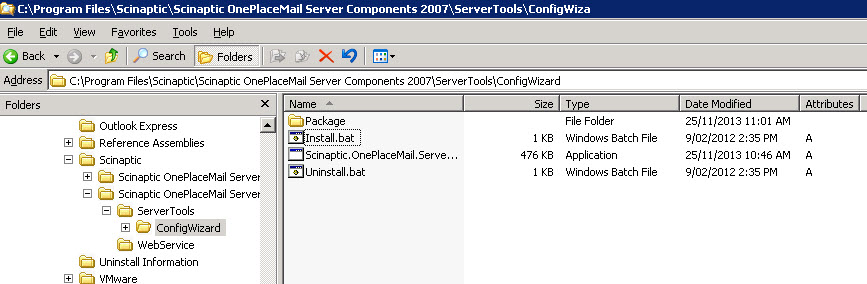
Open Windows Explorer and navigate to the installation folder of OnePlaceMail (by default this will be c:\Program Files\Scinaptic\OnePlaceMail Server Components).
Run (double click) on the install.bat file located within the OnePlaceMail install folder under ServerTools/ConfigWizard/Install.bat
Once the bat file has completed, open the Central Administration website in a browser window
Open the Operations tab, and click on Solution management (under Global Configuration)
You will be presented with a list of installed solutions in the SharePoint Farm. Ensure that oneplacemailsharepointsolution.wsp is now in this list and has a status of deployed
Repeat the remaining steps for each Site Collection that you want OnePlaceMail features activated on.
Open the root website of the Site Collection (logged in as a Site Collection Administrator of the Site Collection).
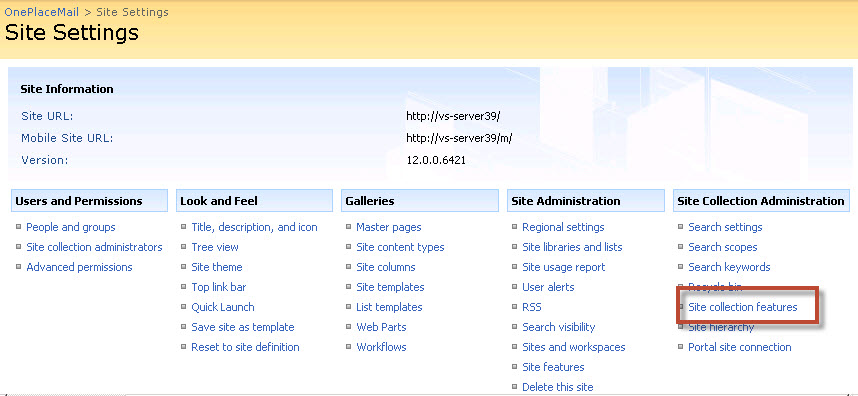
Select Site Action > Site Settings
Select Site Collection Features (under Site Collection Administration)
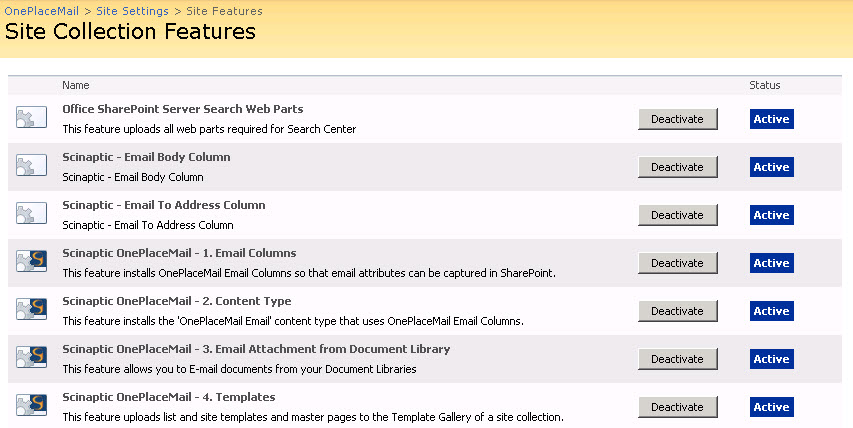
You should see 4 Scinaptic OnePlaceMail features that can be activated by clicking on the Activate button. These features should be activated in the following order:
Scinaptic OnePlaceMail - 1. Email Columns
Scinaptic OnePlaceMail - 2. Content Types
Scinaptic OnePlaceMail - 3. Email Attachment from Document Library
Scinaptic OnePlaceMail - 4. Templates
OnePlaceMail is now fully activated on this Site Collection and ready for use.