Save emails from Outlook to SharePoint
From Microsoft Outlook there are three methods to save emails to
SharePoint:
Drag & drop emails to SharePoint
Select one or more emails and drag/drop to a OnePlaceMail location on the
left navigation of Outlook. The can be a Favorite, Recent or a location
within a Solution Profile.

tip
The default drag/drop process will move
emails to SharePoint. You can also copy emails by performing a right-click
drag/drop.
Once saved to SharePoint, the item is available as per the system and
security configuration of SharePoint.
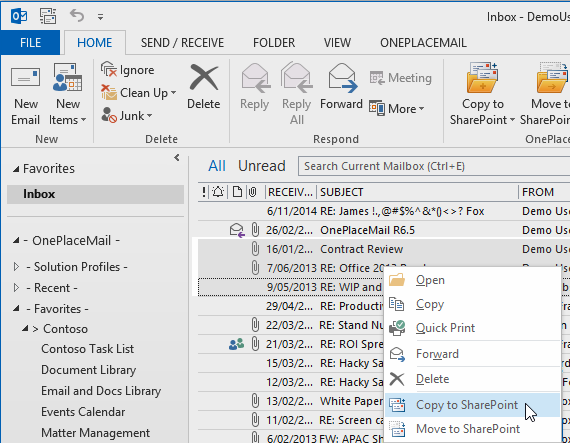
Right-Click - Copy/Move to SharePoint
Select one or more emails, right-click and select 'Copy to SharePoint'
or 'Move to SharePoint'. The Save to SharePoint window will appear,
allowing you to select a location.
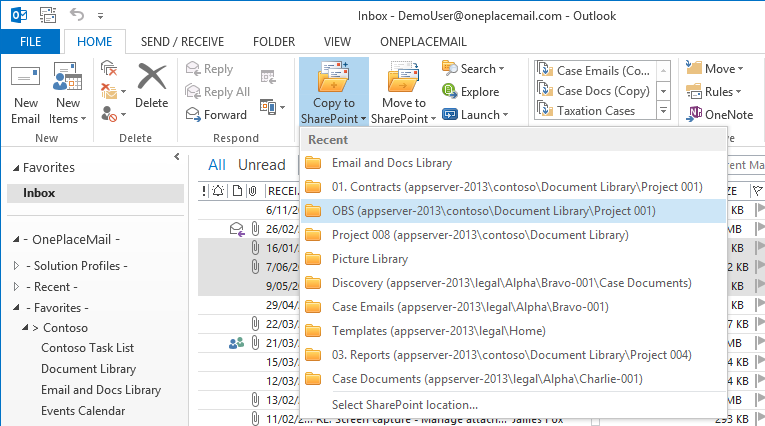
Copy/Move to SharePoint buttons in the
Outlook ribbon
Select one or more emails and select 'Copy to SharePoint' or 'Move to
SharePoint. The Save to SharePoint window will appear, allowing you to
select a location.
Alternatively, you can select a recent location from the from the Copy/Move
buttons. The 'Save to SharePoint' window will optionally appear based on
the location settings.
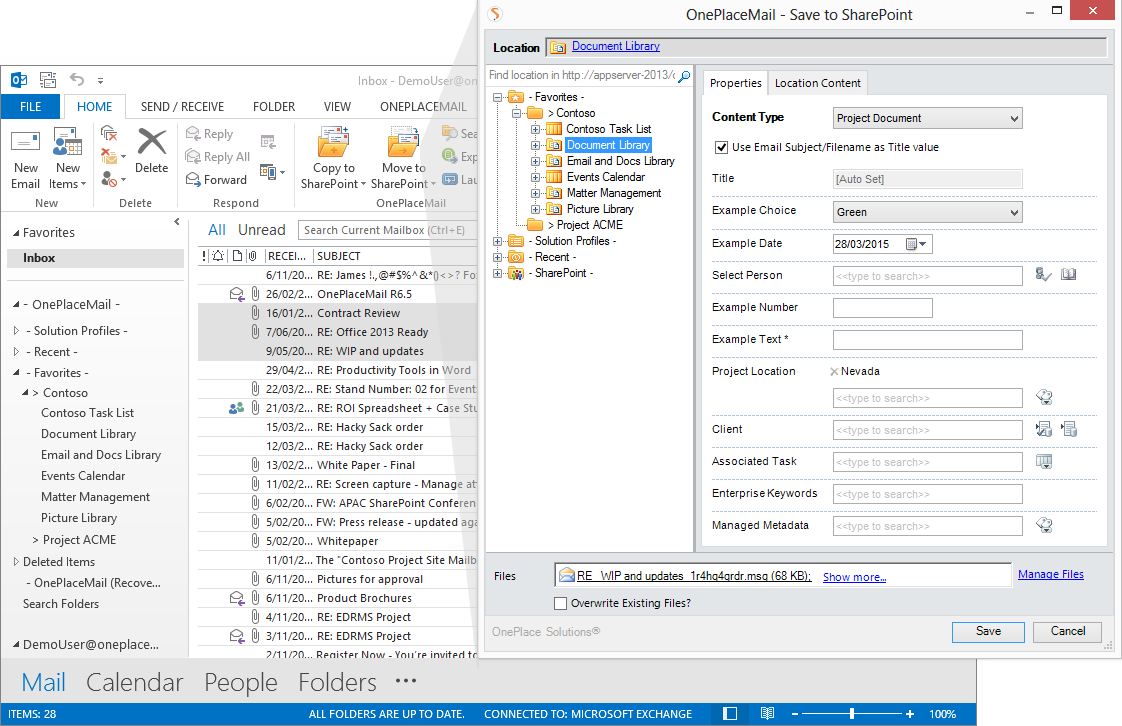
Display Save to SharePoint Window
The 'Save to
SharePoint' window is common across the OnePlace Solutions product
suite. It provides a navigation tree to select a location and the
ability to complete
metadata (in addition to the automatically captured email attributes) when
saving content to SharePoint.
Presenting the 'Save to SharePoint' window is
optional. However, it will always be presented in the event data
validation has not been satisfied.
Display Save Results Window
The Save Results window is optional and shows the list of items successfully
and unsuccessfully saved to SharePoint. The Results window can be
suppressed at a global level within General Settings or on a location by location basis when
creating favorites.
note
The Save Results window will
always be presented in the event of an item not being successfully saved to
SharePoint
The Save Results window allows you to link directly to the newly saved item
in SharePoint. From here, you can edit, initiate workflows and
perform any other valid SharePoint actions available based on your level of
security access.