Email Tracking Upgrade
Overview
In March, Microsoft outlined the .NET on Azure Functions roadmap including the end of support for .NET 6 (November 2024).
As part of this process, users who have deployed the Email Tracking previously when supporting .NET 6, are required to update the OnePlaceMail Email Tracking (OPMET) solution code and related Azure resources supporting it to .NET 8.
Upgrading Instructions
Step 1: Update Email Tracking Function Apps settings to support .NET 8
1. Open the Azure Portal
2. Find and select your existing OnePlace Solutions Email Tracking resource group containing all your OPMET resources. You can do this by searching for ‘Resource Groups’ in the search input and identifying the corresponding resource group, which should be 'OnePlaceMail Email Tracking'.
![]()
![]()
3. You will need to edit both the Azure Functions resources (representing the 'main' Azure Function and 'staging' deployment slot), as indicated by the lightning bolt icon.
![]()
4. For each of these resources, you will to perform the following two steps:
-
Navigate to the ‘Environment Variables’ blade in the navigation pane. Identify the App Setting for ‘FUNCTIONS_WORKER_RUNTIME’ and click on it to edit the saved value.
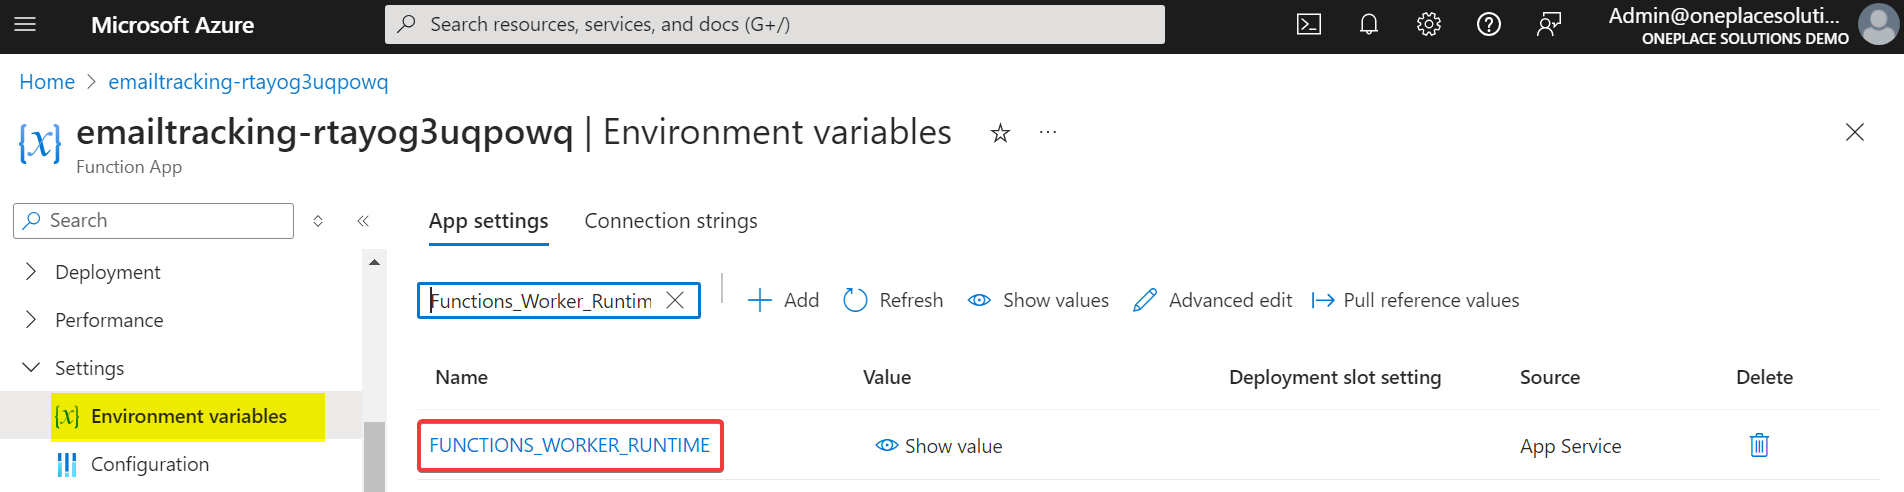
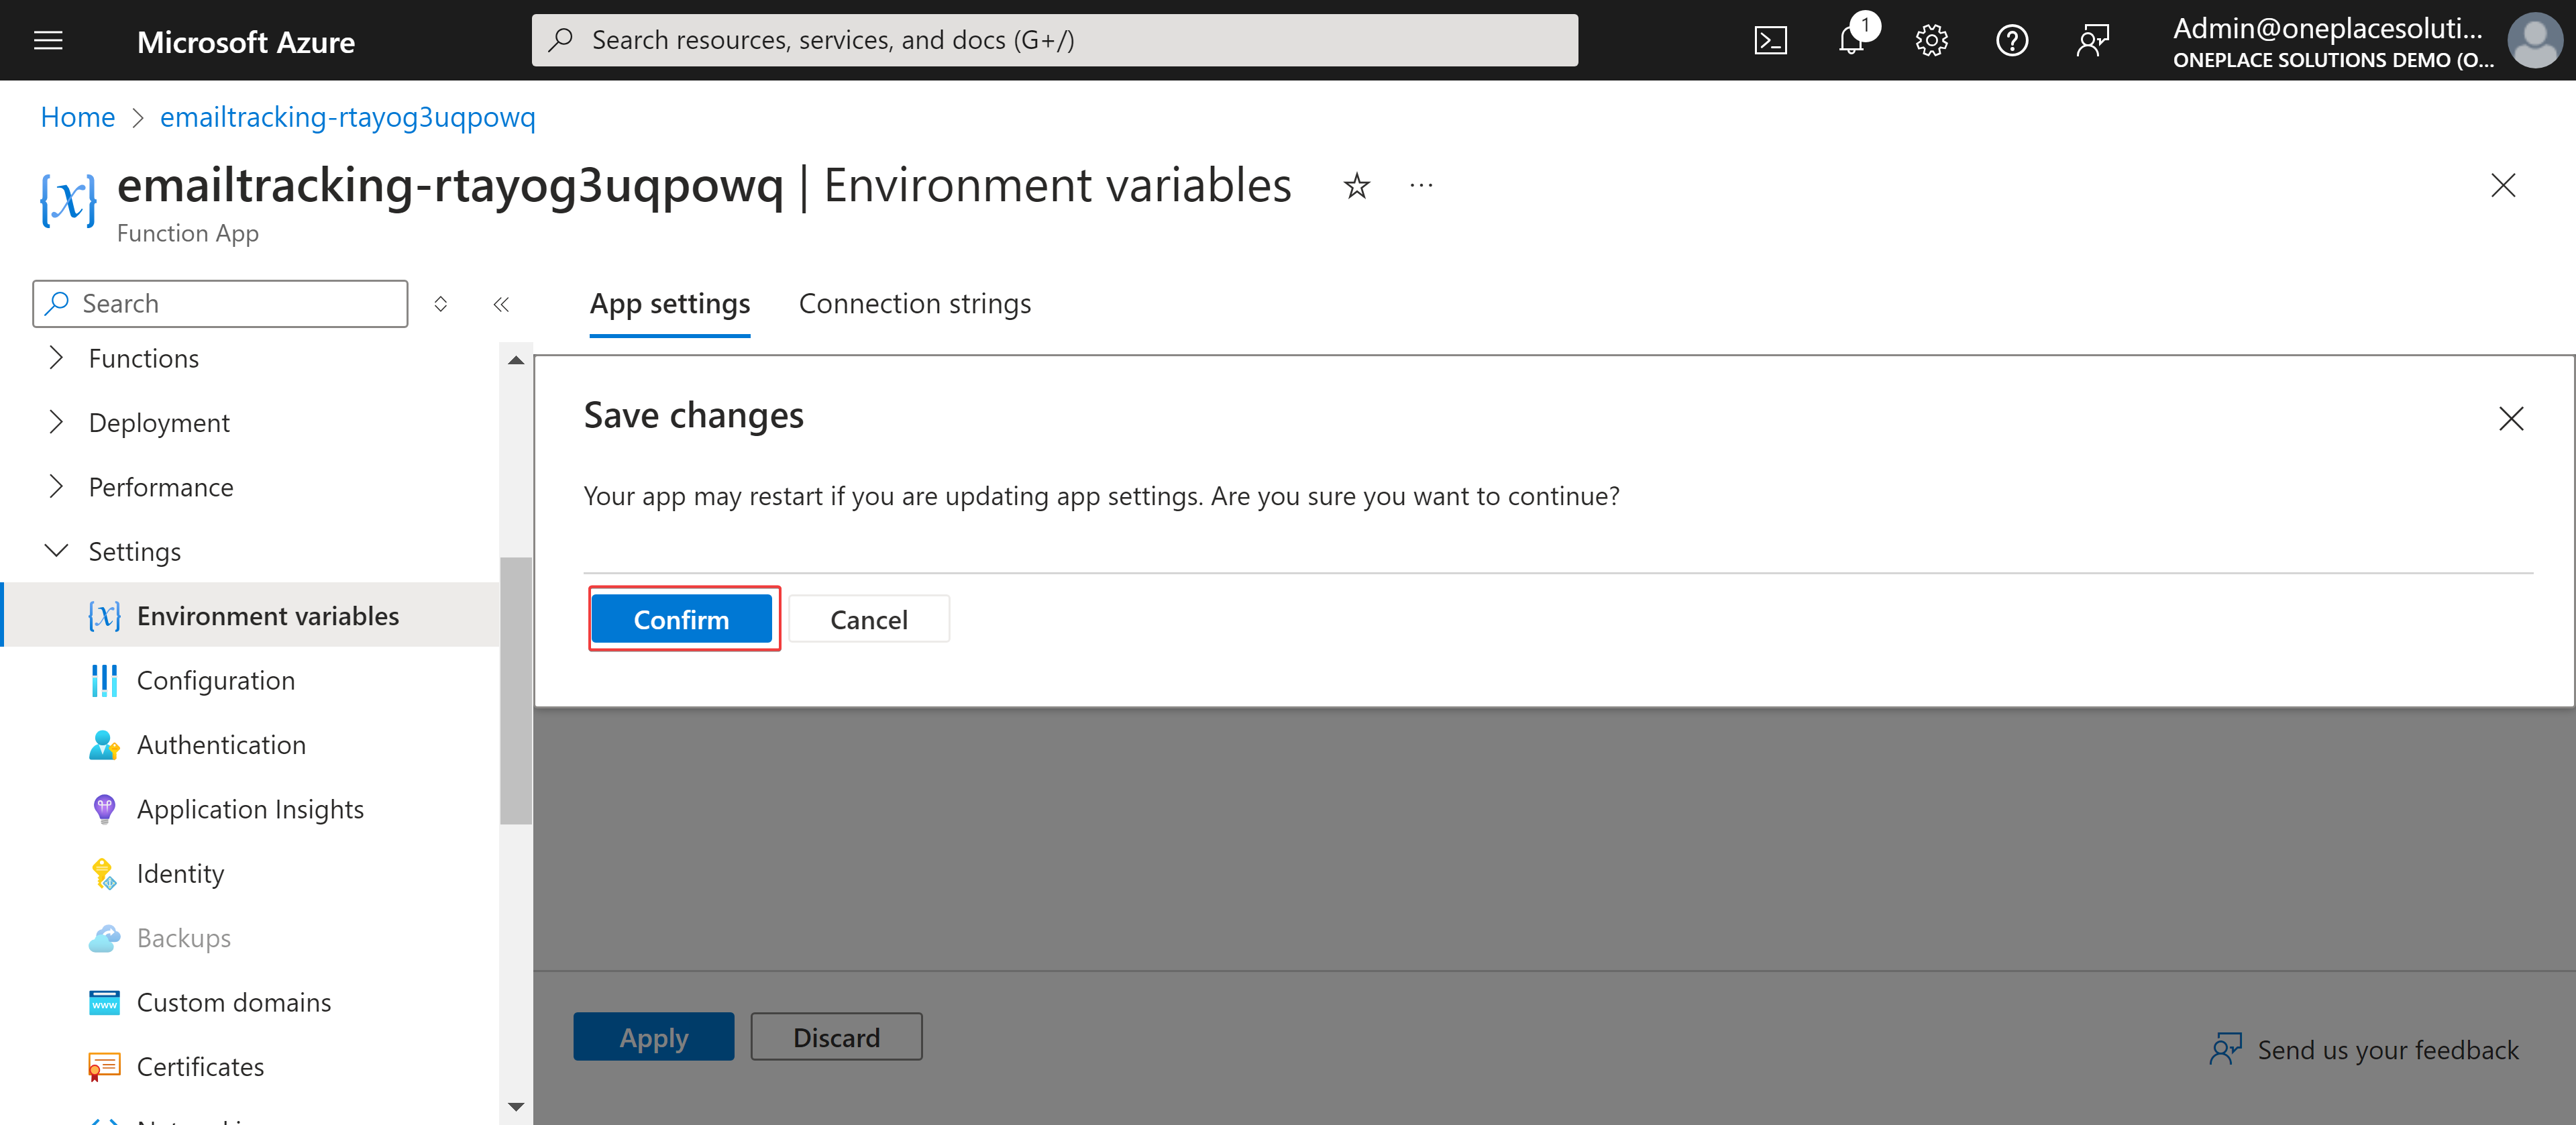
Change the value from ‘dotnet’ to ‘dotnet-isolated’. Click the ‘Apply’ button and then ‘Confirm’ to ensure that the updated value is saved to the Azure Function.

-
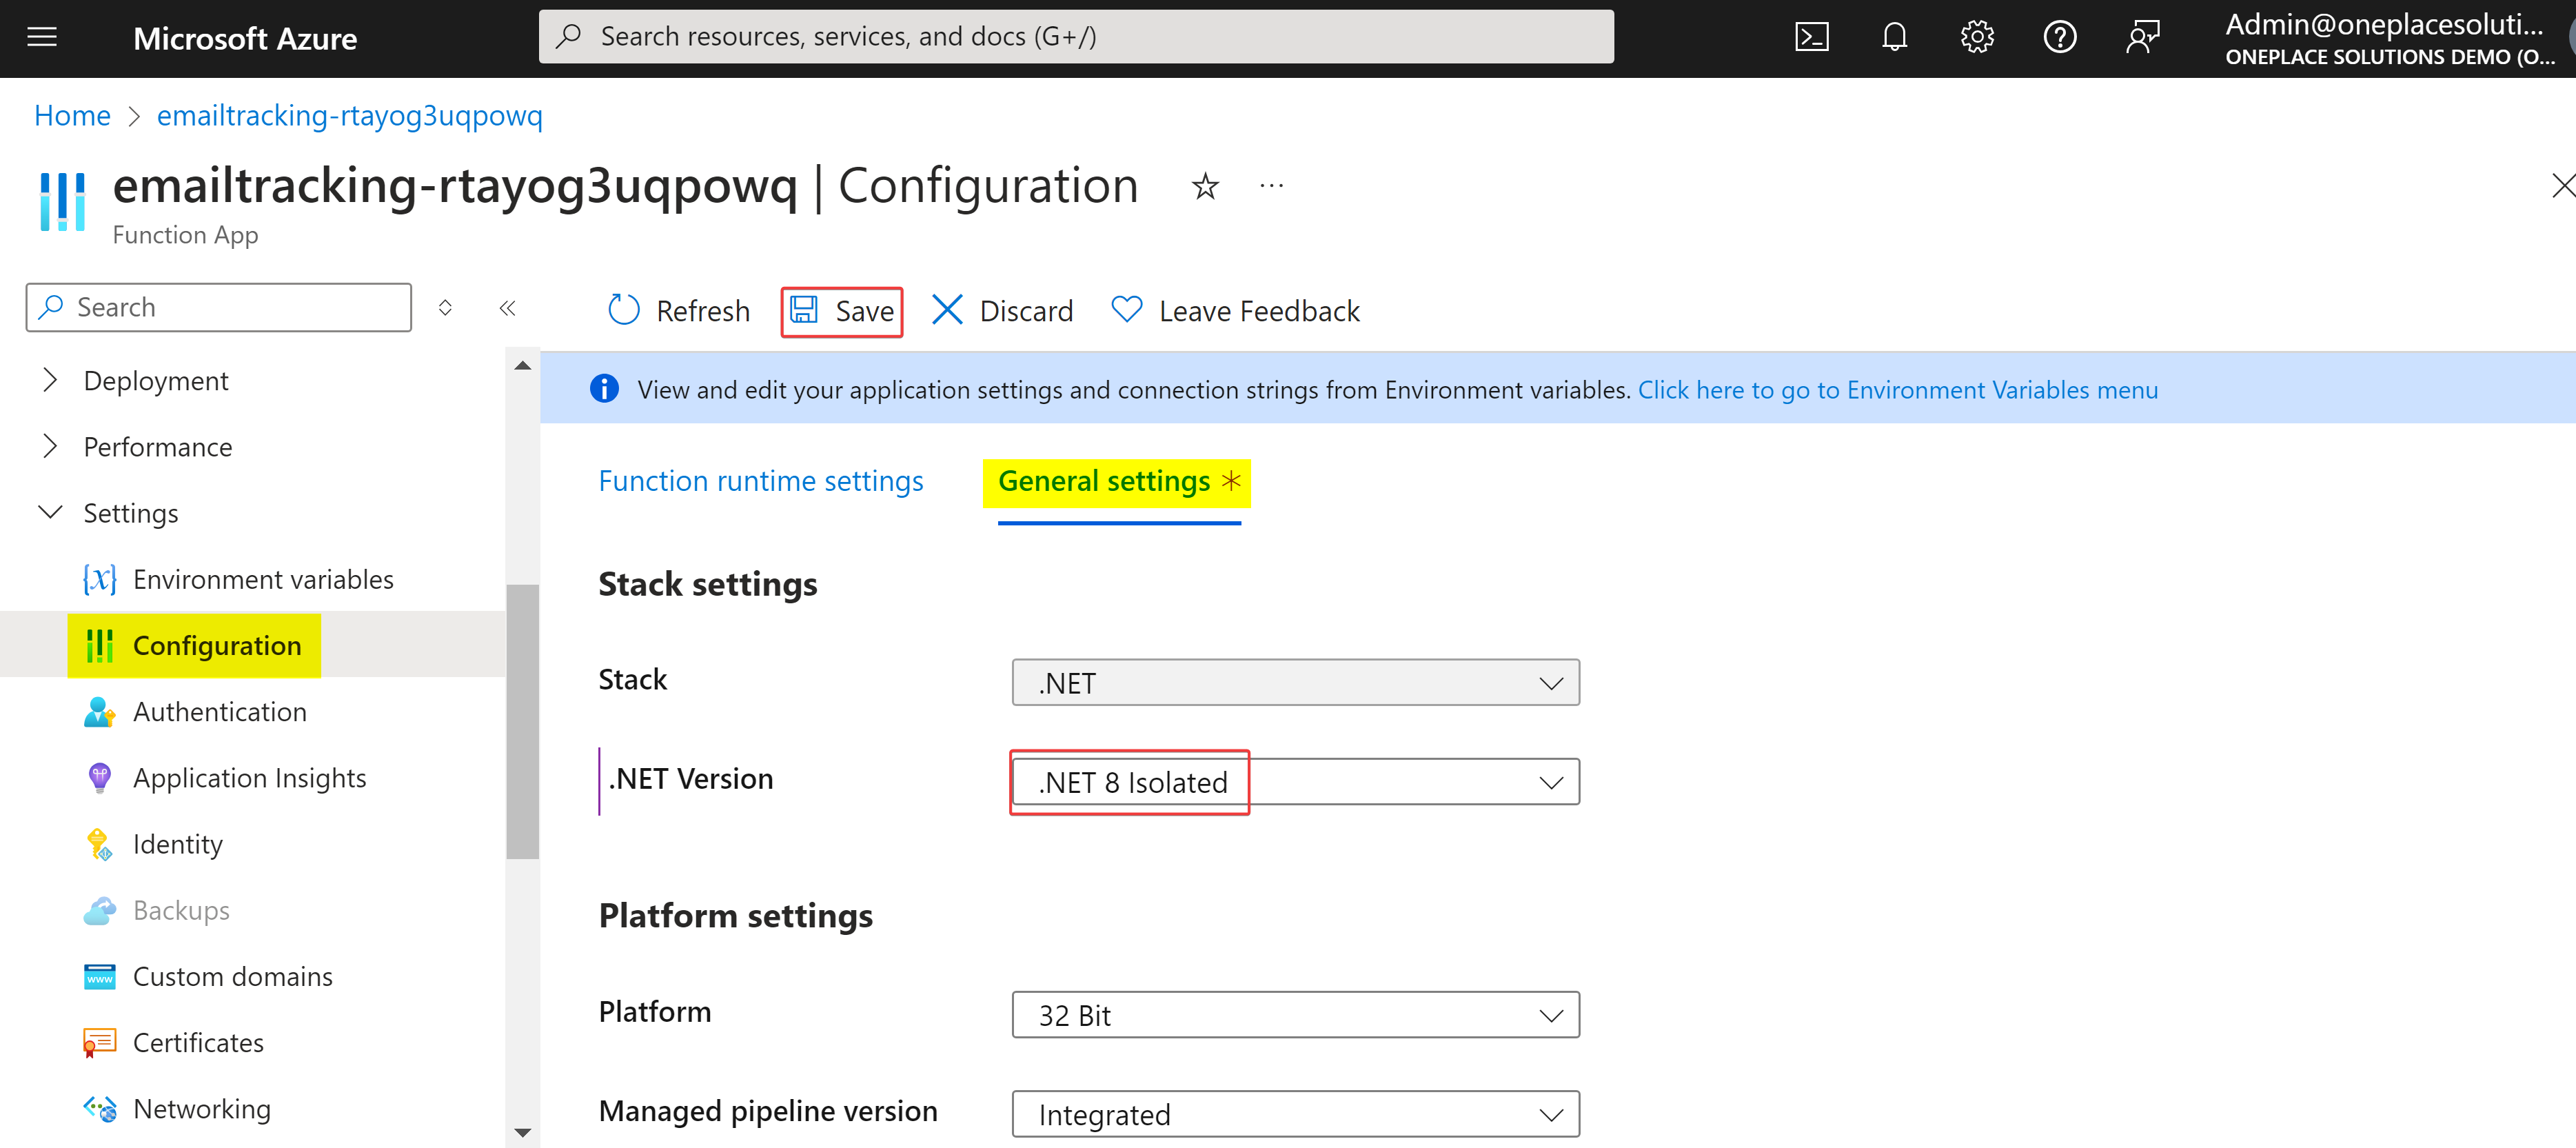
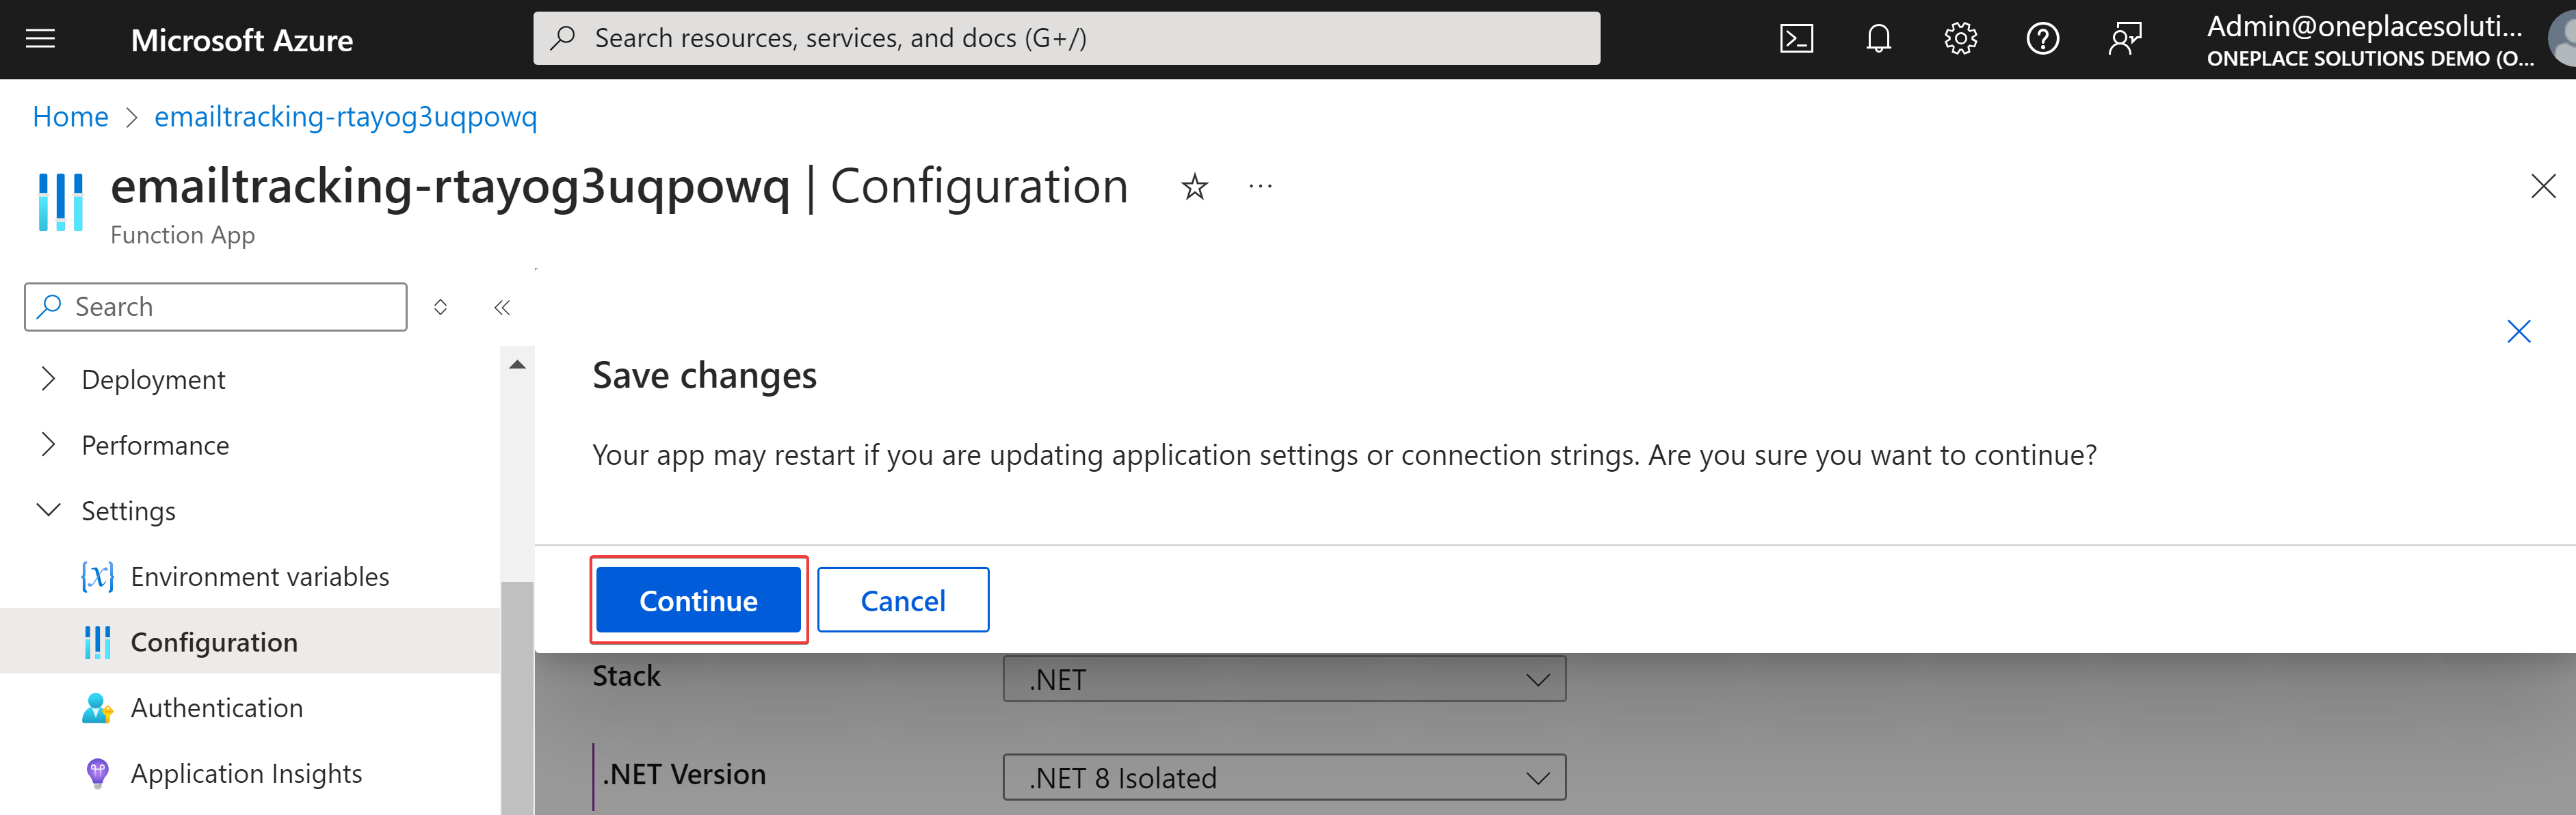
Navigate to the ‘General Settings’ tab of the ‘Configuration’ blade page. Update the value of the ‘.NET Version’ dropdown so that it is set to ‘.NET 8 Isolated’. Save the update by clicking the ‘Save’ button at the top of the page, then click 'Continue' to confirm changes.
-
Step 2: Re-deploy the code package to the Email Tracking Azure service
The latest version of Email Tracking that supports .NET 8 needs to be deployed to the main Azure Function resource.
1. Prior to executing any scripts, please ensure that the Azure CLI is installed on your computer. How to install the Azure CLI | Microsoft Learn.
2. Download the code for the Email Tracking application.
3. Navigate to your Azure Function resource that was created with the Azure Marketplace offer by searching for “Function App” in Azure. Select the Function App resource type.
![]()
4. Find the correct Azure function for Email Tracking from the deployment and click on the row to open the Azure resource instance.
![]()
5. Gather the details required for pushing the code to the resource. You will need to copy the values for the Resource Group name, Subscription ID, and Function App name.
![]()
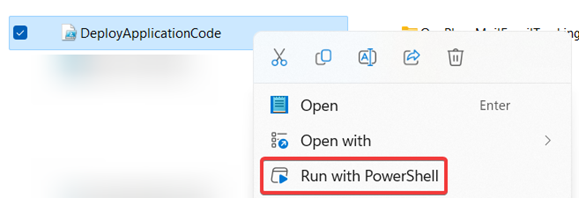
6. Download or copy the script to deploy code to the Function App.
7. Run the script using PowerShell. It is suggested that you run the script from the same folder location as that which you downloaded the code for the Email Tracking application to minimize the requirements around providing a name for the code package.
8. You will be prompted to provide a domain for your M365 tenant (e.g contoso.onmicrosoft.com)
![]()
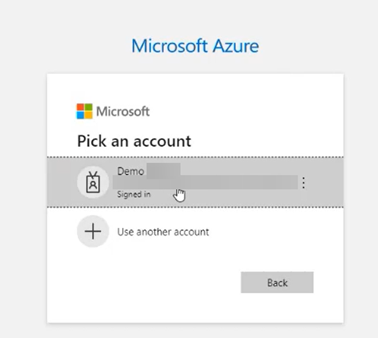
9. You will be prompted to login to Azure under the provided tenant in a browser window.
10. Go back to the PowerShell window. You will be prompted to enter the details you have collected in step 5.
![]()
11. Enter the name of the Email Tracking code package (that was download in step 2) when prompted (Example: 'OnePlaceMailEmailTracking-20240612.1.zip'):
![]()
12. When the deployment is complete you will be updated.
![]()
13. OnePlaceMail Email Tracking manages updates to the application using Function App deployment slots. Deployment slots allow you to push new versions of the application to a “staging” slot that mirrors the production environment. This will allow you to conduct tests on the new version of the application without affecting production traffic (should you deem it necessary).
For first time deployment however, you will need simply swap the slots so that the application version lands in the production slot. To do so, go to the Function App instance (detailed in steps 3 & 4 earlier), click on the “Deployment slots” tab, and then click the “Swap” button.

14. Proceed to complete the swap by clicking the “Swap” button on the pop-out window. (You may need to wait 1-2 minutes for the swap process to complete).

The code for email tracking has now been deployed to Azure!