Email site columns
The capture of rich metadata provides for better classification of content and best practice enterprise content management. The availability of metadata means views can be created and SharePoint search can be used more effectively to return content.
1. Add email site columns to the SharePoint site
OnePlace Solutions provides a number of columns to ensure that email metadata is captured at the time of saving to SharePoint.
The email columns can be deployed via the SharePoint PnP process, so these columns are efficiently added to your site collection.
Please select the version of SharePoint you are using to add the email site columns:
Deploy email columns
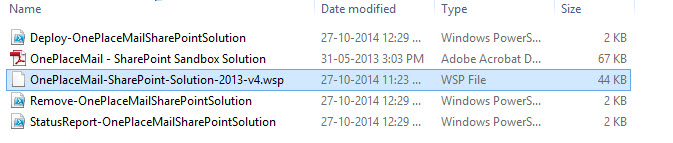
Download the Solution
Upload the Solution:
In SharePoint, browse to Site Settings | Solutions.
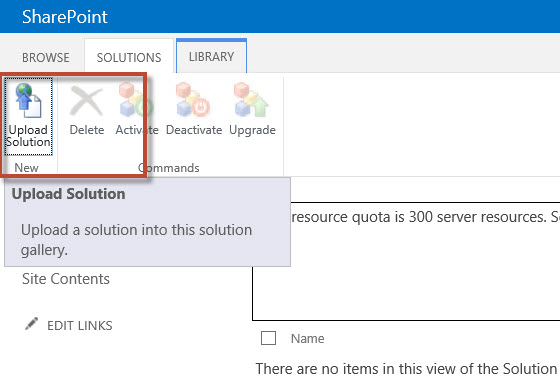
Select the WSP file previously downloaded.
Activate the Solution
Activate the solution by clicking the Activate button
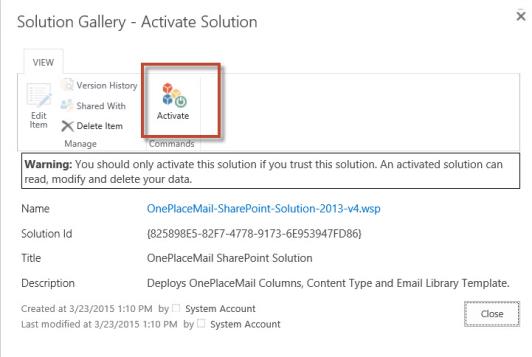
The OnePlaceMail SharePoint Sandbox solution is now activated and ready for use in the site collection, and will be listed as an activated solution

The email content type will now be able to be selected when creating a new document library.
Create email columns manually
There may be times where you need to manually create these email columns.
Please find a list of available email columns:
OnePlaceMail captures a number of email attributes and promotes these to columns
- These columns must be created with the name (internal names) as they are listed below and can be renamed (display name) once they have been created.
- The email columns are case sensitive.
| Column Name | Column Type |
| EmSubject | Single line of text |
| EmTo | Multiple lines of text |
| EmToAddress | Multiple lines of text |
| EmCC | Multiple lines of text |
| EmBCC | Multiple lines of text |
| EmFrom | Single line of text |
| EmFromName | Single line of text |
| EmDateSent | Date and Time |
| EmDateReceived | Date and Time |
| EmType | Single line of text |
| EmDate | Date and Time |
| EmID | Single line of text |
| EmAttachCount | Single line of text |
| EmAttachmentNames | Multiple lines of text |
| EmCon | Single line of text |
| EmConversationID | Multiple lines of text |
| EmConversationIndex | Multiple lines of text |
| EmCategory | Single line of text |
| EmBody | Multiple lines of text |
| EmSensitivity | Number |
| EmImportance | Number |
| EmToSMTPAddress | Multiple lines of text |
| EmCCSMTPAddress | Multiple lines of text |
| EmBCCSMTPAddress | Multiple lines of text |
| EmFromSMTPAddress | Multiple lines of text |
| EmHasAttachments | Yes/No |
| EmSentOnBehalfOfName | Single line of text |
| EmReceivedOnBehalfOfName | Single line of text |
| EmCompanies | Single line of text |
| EmRetentionPolicyName | Single line of text |
| EmReplyRecipientNames | Single line of text |
| EmReplyRecipients | Single line of text |
| The columns below will capture the original created and modified dates when saving from a network drive to SharePoint | |
| DocCreatedSaved | Date/Time |
| DocModifiedSaved | Date/Time |
Create site columns
Navigate to Site Columns
Select Settings| Web Designer Galleries | Site Columns
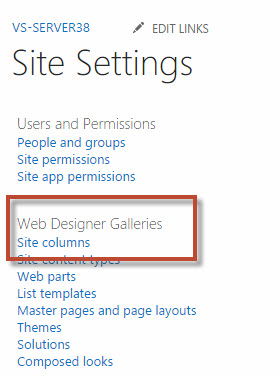
Select Site Settings,
Select, Galleries | Site Columns

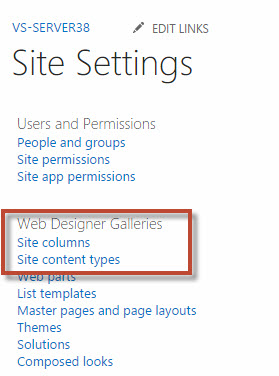
Open Site Settings and navigate to Site Content Types
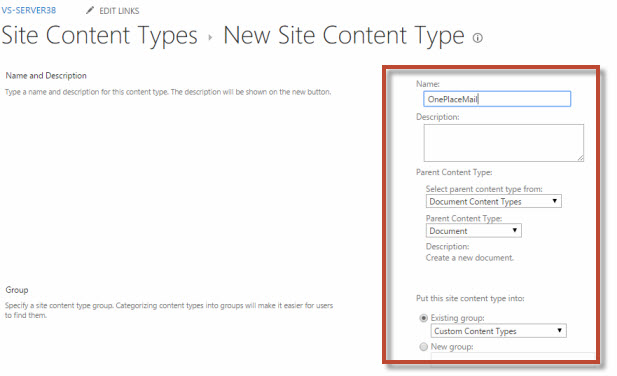
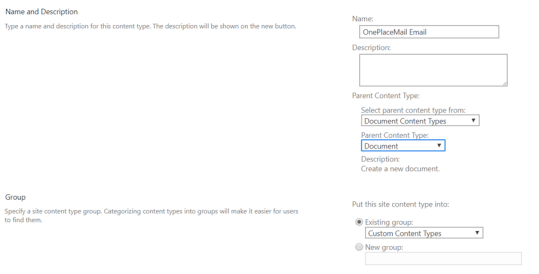
Create new content type with name OnePlaceMail Email based on the "Document" content type
Open the newly created content type, and add columns from existing site columns which were created in previous section.
Now you can use this content type and columns in any library inside your site collection
2. Add the OnePlaceMail email columns to a content type
Browse to your SharePoint site collection where the email columns have been deployed to
- Select 'Site Settings'
- Under Web Designer Galleries, Select 'Site content types'
- Select 'Create'
- Name the content type. The content type can be named "OnePlaceMail Email"
- Select 'Add from existing site columns'
- From the drop down, select "OnePlace Solutions"
- Select all columns, then 'Add'
![]()
- Select Ok
The content type has now been created with the OnePlaceMail email columns available.
3. Add the content type to document libraries
The email content type can now be applied to the document libraries where emails will be saved.
- Browse to the document library
- Select 'Library Settings'
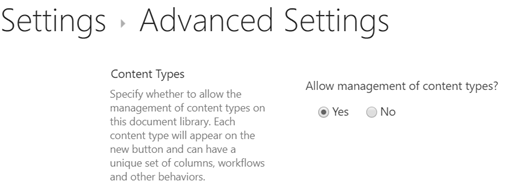
- Select ' Advanced Settings'
- Set the 'Allow Management of content types' to yes, Select OK
- Under 'Content types' select 'Add from existing site content types'
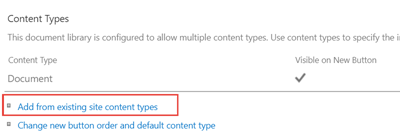
- From the drop down, select the previously created email content type. Select Add then OK.
4. Create a view for your email columns
Now that the content type is available in the document library, you can add some email columns to the default view, or create a new view
- Select 'Library Settings'
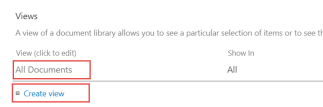
- Scroll down to 'View's
- Select the default view, or create a new view
- Select the email columns to be added to the view
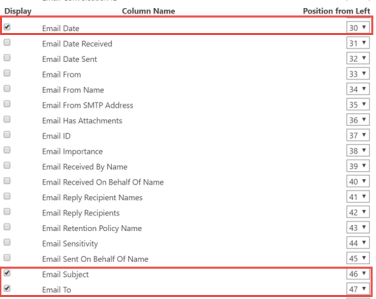
- Select OK.
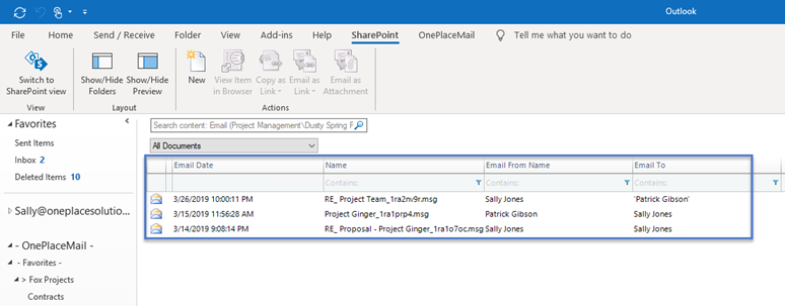
The columns will now be visible, when saving an email to the library the email attributes will be captured and displayed.